Development & EngineeringOct 30, 2020
How to Create a Post Type in WordPress with PHP in Just 5 Minutes.
Today I want to show you how easy it is to create your own post type for WordPress in just 5 minutes.
So let's get started right away.
Creating a Post Type with PHP
First, we create a new file in our child theme and open it. For simplicity, I will name the file "WordPressCustomPostType.php".
Next, we create our class that will be responsible for managing our new post type. It will look like this:
<?php
if(!defined('ABSPATH')){
	exit();
}

class WordPressCustomPostType{
	public function __construct(){}
}

new WordPressCustomPostType();
Now we need a function that informs WordPress that we have a new post type that should be loaded. For this, we use the "register_post_type" function.
public function wp_registerPostType(){
	$labels = array(
		'name' => __( 'Custom Post Type' )
	);

	$args = array(
		'labels'          => $labels,
		'capability_type' => 'page',
		'show_ui'         => true,
		'supports'        => array( 'title', 'editor', 'thumbnail', 'revisions', 'excerpt' )
	);

	register_post_type( 'my_custom_post_type', $args );
}
Brief Explanation: In this guide, we only deal with the minimal information needed to create your own post type in WordPress. If you want to add more information, you can do so at any time. You can find useful information directly in the WordPress Code Reference:
- You can find the names for the labels here.
- You can find the arguments you can use here.
- You can find all fields for support here.
Finally, we need to inform WordPress that our code should be executed once all core functions are loaded. To do this, we extend the constructor and add a new event:
public function __construct() {
	add_action( 'init', array($this, 'wp_registerPostType' ) );
}
Now save everything and we can switch to the WordPress backend to view our new post type.
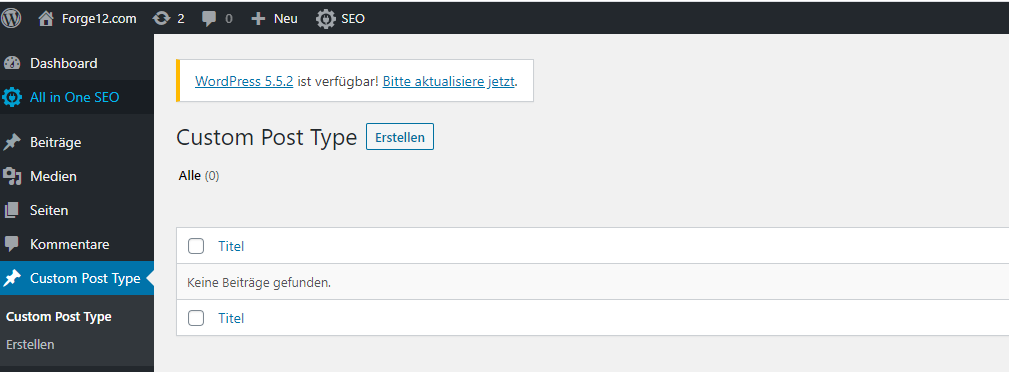
Want to learn more? Then take a look at the Code Reference from WordPress.
Outputting Data with a WordPress Shortcode
One way to access your data is through shortcodes. Once created, you can reuse the shortcode anywhere.
First, we add a new function that creates our output. To keep the guide short, we will simply query all the titles of our entries and output them one below the other. The code for this looks like this:
public function wp_doShortocde( $atts ) {
	$myCustomPosts = get_posts( array(
			'post_type' => 'my_custom_post_type'
		)
	);

	$listOfTitles = array();
	foreach ( $myCustomPosts as $postItem /** @var WP_Post $postItem */ ) {
		$listOfTitles[] = $postItem->post_title;
	}

	return implode( '<br>', $listOfTitles );
}
For WordPress to call our code, we need to link everything together. For this, there is the "add_shortcode" function.
add_shortcode( 'run_my_custom_post_type', array( $this, 'wp_doShortocde' ) );In our example, I name our shortcode "run_my_custom_post_type" which then calls the function "wp_doShortcode" that we created earlier. Now we can place the shortcode on any page or post like this:
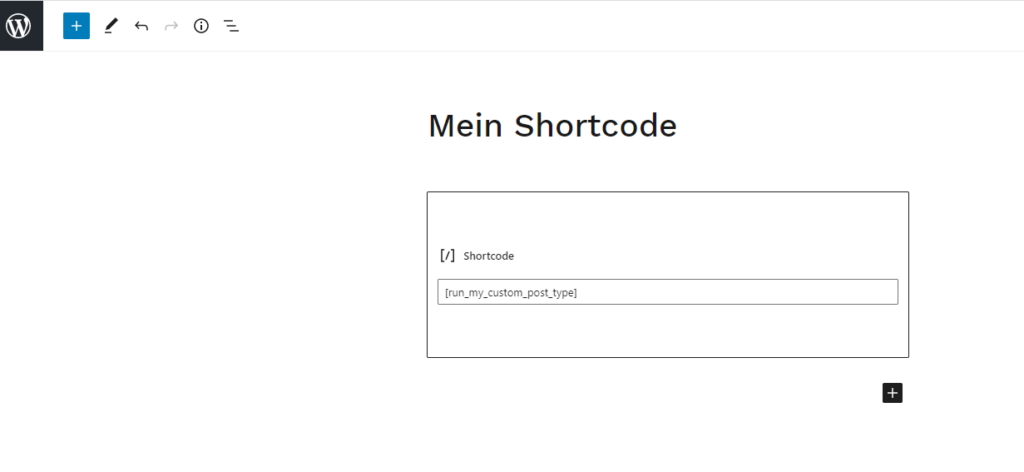
[run_my_custom_post_type]I created a new page for this and entered my shortcode using the Gutenberg editor.
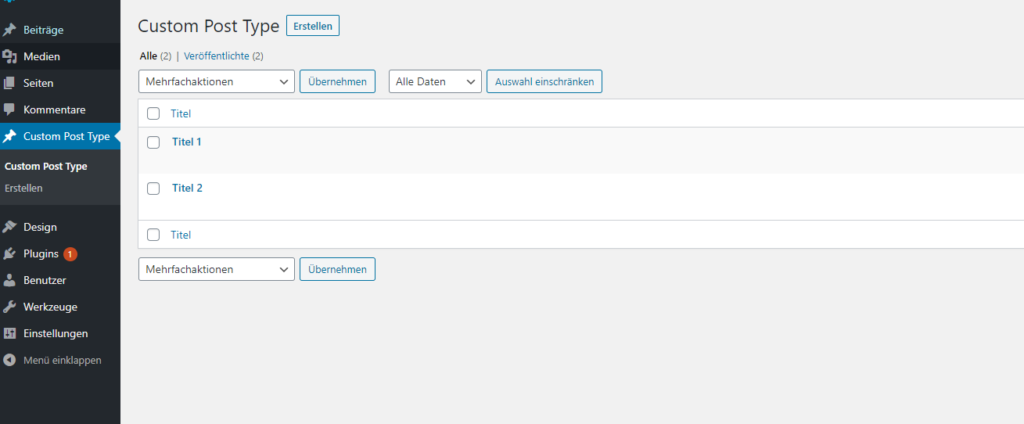
Now quickly create a few entries with our custom post type.
Once you are done, you can view everything in the frontend by calling the page with your shortcode. For me, it looks like this now:

Useful Tips
Here are a few useful tips to ensure everything works.
- Use a unique prefix for your post types to ensure that there are no complications with other plugins later on.
- Use a prefix for functions that are called by a WordPress event so that you have a better overview of your code.
Code Without Shortcode
<?php
if(!defined('ABSPATH')){
	exit();
}

class WordPressCustomPostType{
	public function __construct(){
		add_action('init', array($this, 'wp_registerPostType'));
	}

	public function wp_registerPostType(){
		$labels = array(
			'name' => __( 'Custom Post Type' )
		);

		$args = array(
			'labels'          => $labels,
			'capability_type' => 'page',
			'show_ui'         => true,
			'supports'        => array( 'title', 'editor', 'thumbnail', 'revisions', 'excerpt' )
		);

		register_post_type( 'my_custom_post_type', $args );
	}
}

new WordPressCustomPostType();
Code With Shortcode
<?php
if ( ! defined( 'ABSPATH' ) ) {
	exit();
}

class WordPressCustomPostType {
	public function __construct() {
		add_action( 'init', array( $this, 'wp_registerPostType' ) );
		add_shortcode( 'run_my_custom_post_type', array( $this, 'wp_doShortocde' ) );
	}

public function wp_doShortocde( $atts ) {
	$myCustomPosts = get_posts( array(
			'post_type' => 'my_custom_post_type'
		)
	);

	$listOfTitles = array();
	foreach ( $myCustomPosts as $postItem /** @var WP_Post $postItem */ ) {
		$listOfTitles[] = $postItem->post_title;
	}

	return implode( '<br>', $listOfTitles );
}

	public function wp_registerPostType() {
		$labels = array(
			'name' => __( 'Custom Post Type' )
		);

		$args = array(
			'labels'          => $labels,
			'capability_type' => 'page',
			'show_ui'         => true,
			'supports'        => array( 'title', 'editor', 'thumbnail', 'revisions', 'excerpt' )
		);

		register_post_type( 'my_custom_post_type', $args );
	}
}

new WordPressCustomPostType();
Conclusion
With WordPress, you can quickly and easily create your own content types (post types) that you can then manage through WordPress. Outputting via a shortcode is also done quickly.
I hope this little contribution helped you. I am always happy to receive feedback on individual topics or suggestions.